Acoustic Panel installation
Installation is easy
We advise placing our panels directly next to each other on your walls to achieve the best looking result. Our panels can be mounted vertically or horizontally. Prepare the wall by removing any screws, nails and other obstacles on the wall.
You can adjust the width or hight of our panels by cutting the panel in the felt using a sharp knife, with a new knife blade, or circular saw with a sharp hardwood blade.
You can choose to install panels with construction adhesive or with screws, depending on your preference.
Product specs
Our acoustic panels measure 2,4m x 0,6 m and are shipped in a sturdy carton box.
Seamless acoustic wallpaper installation
Iron-on application - unmatched ease and versatility
You can upgrade your room in just two simple steps. See below for details.
Our patented technology enables you to create a seamless and flawless finish.
For installation of the acoustic base layer we advise you to use our acoustic wallpaper installation manual.

Step 1
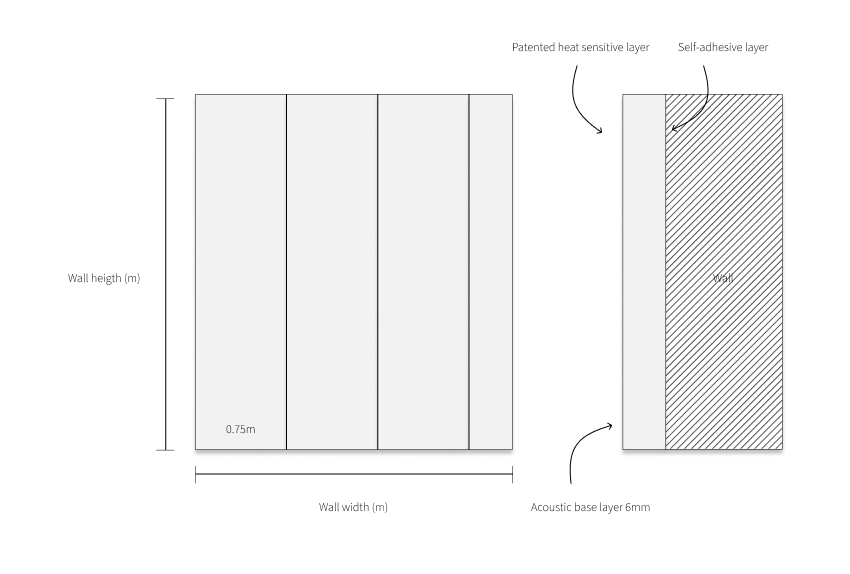
Stick the high-quality 6 mm thick acoustic base layer to your wall. The adhesive backing sticks to virtually any wall and can be installed in minutes.

Step 2
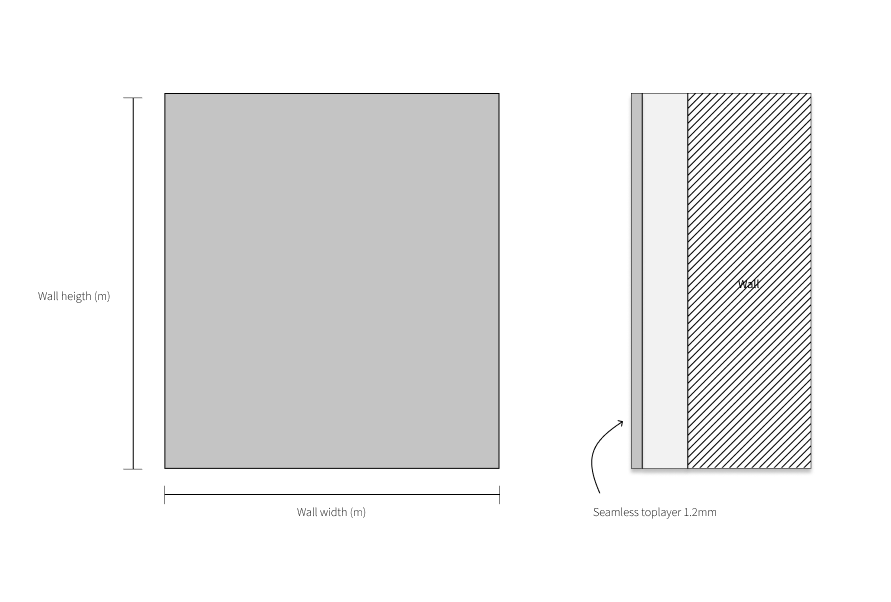
The high-quality seamless top layer can be effortlessly ironed onto the self-adhesive acoustic base layer.
This innovative feature simplifies installation, allowing you to achieve professional-quality acoustic performance without the need for specialized tools or expertise.